Homemade arcade machine
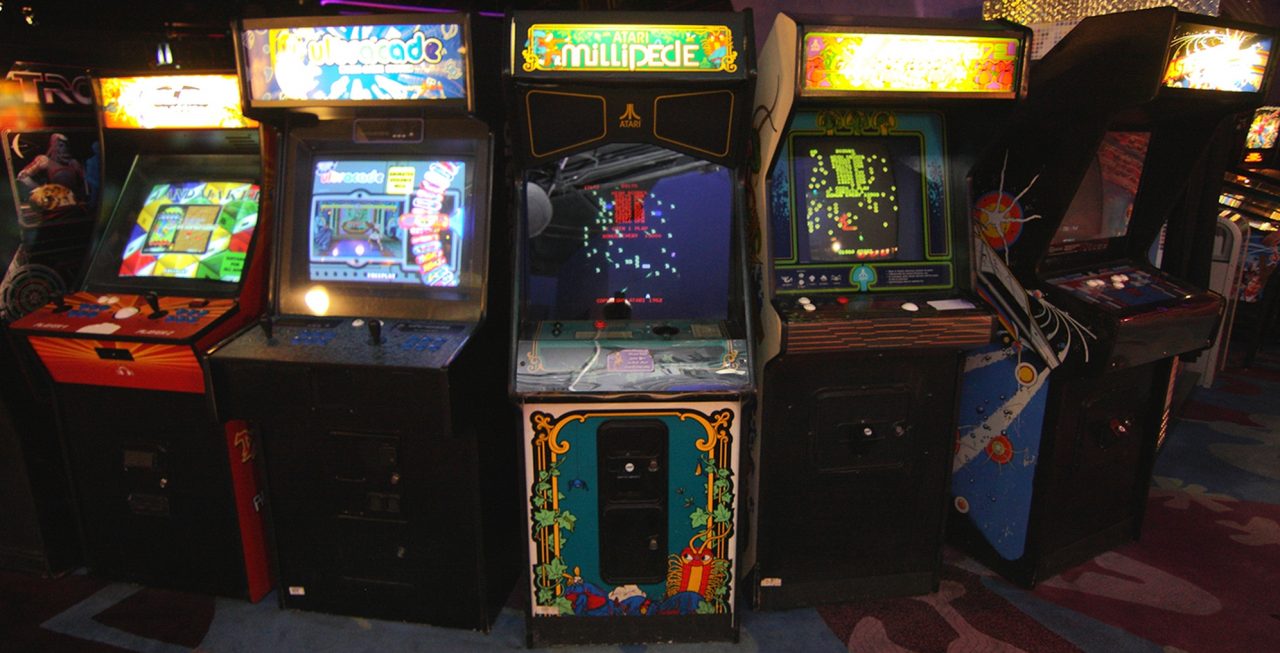
Table of Contents
I have always wanted my own upright arcade machine at home
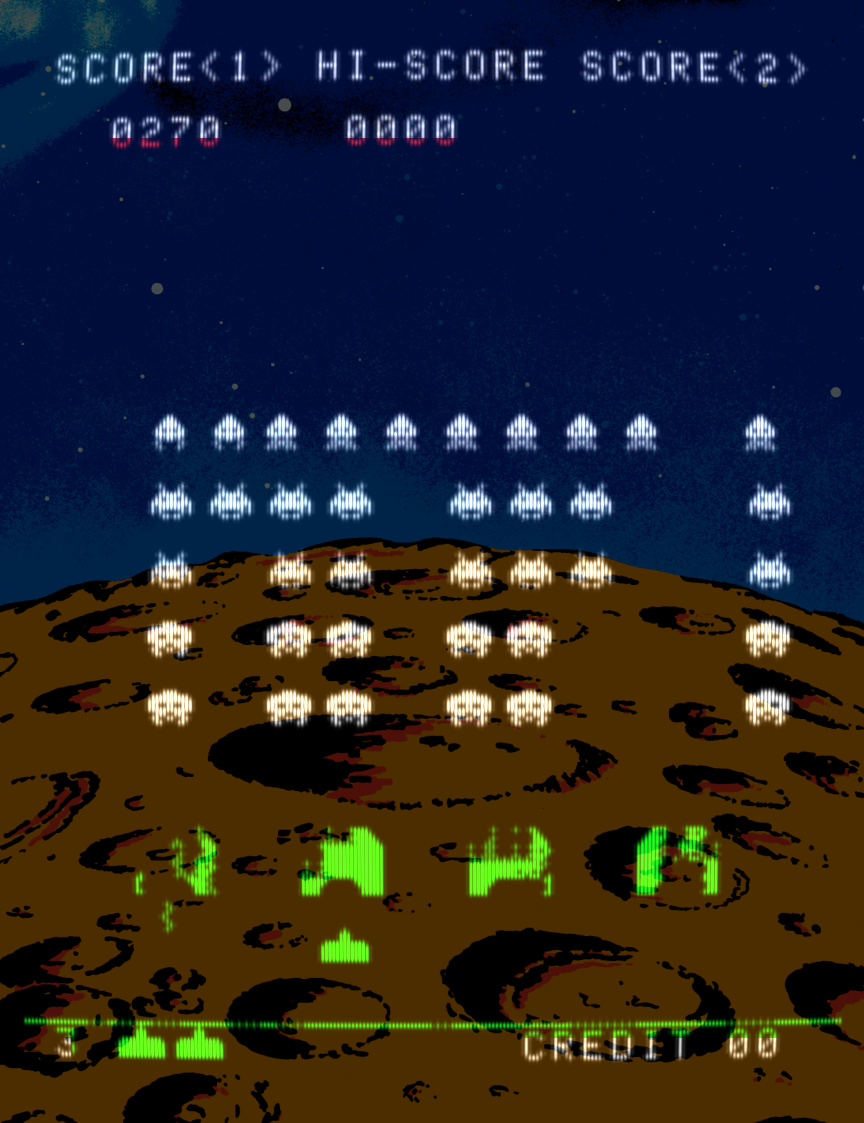
I grew up with the amusement arcade boom of the late 1970’s to the mSpace Invaders new partsid 1980’s. To me, this was a fantastic time. The 1970’s saw the first arcade machines appear and they just got better and better year after year. They were initially black and white and soon afterwards they were colour. They pushed the 8 bit CPU’s to the limit and then the 1980’s saw 16 bit machines appear. These took the complexity of the graphics and game play to the next level. And throughout all this time, it was just ten pence a go to play a game. Good times and I always knew I would have my own arcade machine one day.
Whilst living at my parents house, having anything like an arcade machine in my bedroom would have been out of the question. It was not until I purchased my own house and moved out, that my dream would come true. Back when I did this, buying a genuine arcade machine would have been a very costly exercise. Also I wanted to be able to have different games and I did not have the space in my house for more than one machine.
I discovered game emulation
Around this time an amazing piece of software appeared that changed my life ( gaming wise ). MAME which stands for “Multiple Arcade Machine Emulator” was born. This software would run on a regular PC and would require copies of the original arcade machine ROM’s. The software would emulate the complete hardware of the arcade machine and the ROM’s were read in and executed. Basically the arcade game was running on your PC. I had never seen anything like this before and I was completely blown away by it. When I first discovered MAME, it only supported a handful of games, but this quickly increased as time went on. More and more programmers made this happen. ROM’s were made available on certain websites and you were all set.
To me this was the next best thing to having the real arcade machine at home. Obviously a real machine is going to be better, but that was just not possible for me. Also this meant I could have one arcade machine at home and it would emulate many games all inside the same cabinet.
Building the cabinet
eBay was something quite new back then, and second hand arcade machine cabinets were not really something you could buy easily or cheaply. This would have been ideal, as I could have purchased a broken or gutted cabinet and fitted my own PC internals. But that was not going to happen. So the next best thing was to make my own cabinet. I am quite good at DIY work, so I was up for the challenge.
After a trip to Homebase, I had some large sheets of MDF and various screws and brackets. I also needed a design, so I checked out loads of pictures of every arcade machine I could think of on the Internet and designed my own cabinet. I did not base it on anything in particular and it is just a design that I like the look of.
Some upright arcade machines have the screen almost horizontal inside the cabinet with the screen facing upwards and you look down onto it. I wanted to have the screen more like other machines, where the screen is almost vertical in front of you. This also allows other people standing around you to be able to easily see the screen as well. At least more people can enjoy the machine at the same time.
With my rough designs, I then made some templates from large sheets of paper to make sure I was really happy with this before cutting the MDF. The templates looked good, so out came the saw. First I cut out the sides and made sure they were exactly the same size to the millimetre. Then I cut out the back, front, top, bottom and other miscellaneous pieces.
I was not sure how this was going to be put together and I thought about gluing it. But then I decided to just use wood screws, and this worked out really well. I can at least take it apart again if needed. The screw heads go below the surface of the MDF and then I used some special black plastic caps to clip into the holes. This had the nice effect of hiding the screws, and the plastic caps will match the paint. They have a small dome to them and give quite a professional look.
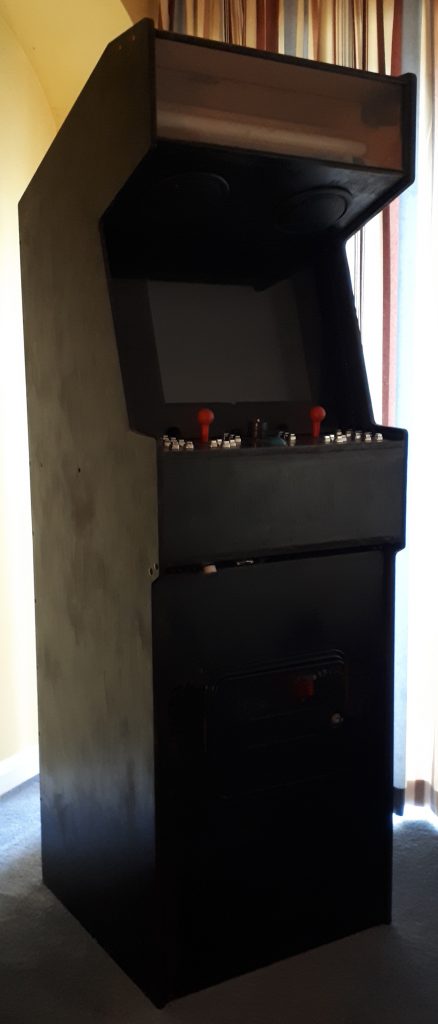
It only took me a few days to get the basic cabinet made and then some fine tuning to get everything just how I wanted it. The rear of the cabinet can come out, so that maintenance is possible to the internals when needed. I needed to get some glass cut for the screen and marquee. This took a couple of attempts as the glass cutter got the size slightly wrong and I had to go back and get him to make it a little bit smaller. My measurements were fine, and he made the mistake.
The final thing to do to the cabinet was to paint it. A few coats of satin black and it was really starting to look the part.
Fitting the screen and PC
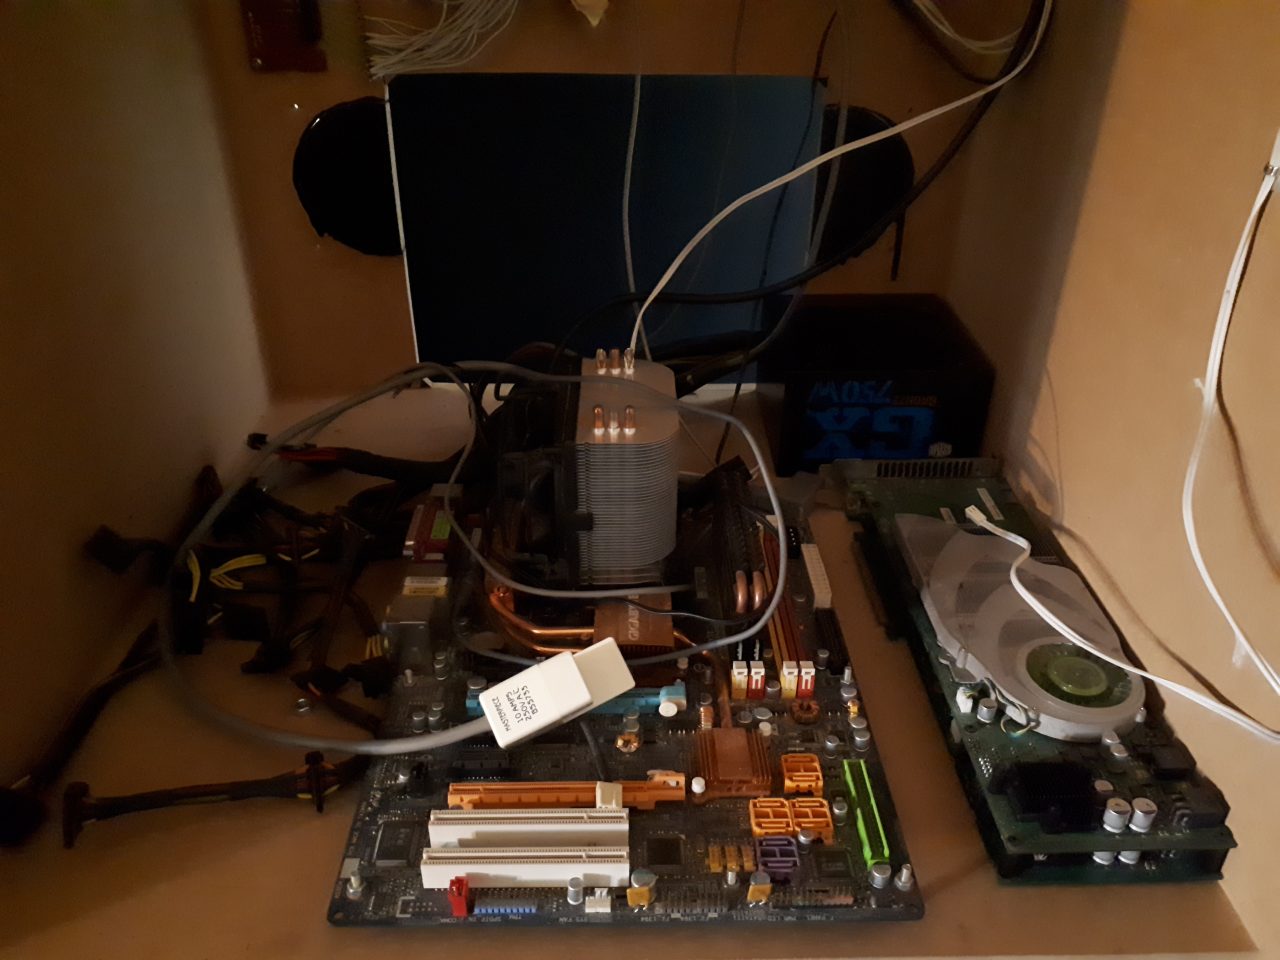
I did not want to just have a PC case sitting inside the cabinet. I wanted the PC parts to be bare as I prefer this look and it will be much easier to work on in the future. The cabinet was made with a shelf near the bottom for the PC parts to mount onto. I drilled holes in the shelf and then used nuts and bolts to mount the mother board to it. This worked out really well and looked more like an original arcade machine with the large PCB’s all visible. The hard drive and PC power supply are also mounted onto this shelf.
Initially I went with a 17″ CRT VGA monitor. I did this as at the time as this was my desktop monitor and it was being retired as I had just got an early LCD screen. I wanted the CRT to be bare and not still inside the plastic monitor case. This also gives an original arcade machine look with this all visible. I have a background in electronics, so taking the monitor apart did not phase me, and I know all about the dangers of them potentially being able to kill you with a huge electric shock.
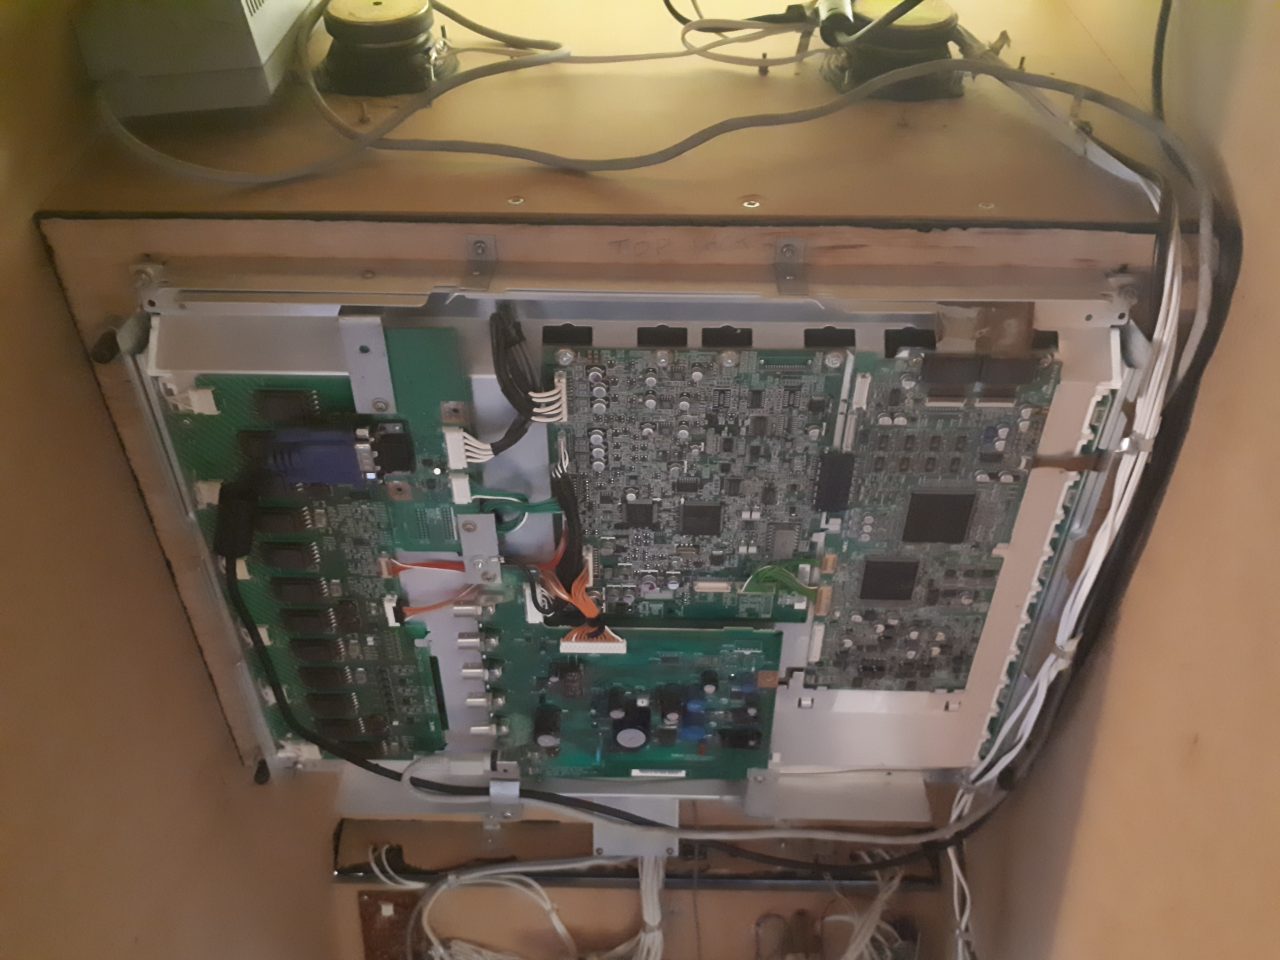
To mount the CRT screen, I wanted to be a bit clever here. I did not want the screen attached directly to the cabinet. The cabinet has a sort of bezel piece of MDF which is behind the glass. I painted the glass around the edges to hide the area around the screen. My method is to bolt the screen to an intermediate piece of MDF and then this piece is then bolted to the cabinet behind the bezel. This method might seem strange, but the idea is I can change the screen for anything else I want in the future ( as long as it fits ) and the only thing I have to modify is the intermediate MDF piece and not the cabinet itself. This actually paid dividends later on as I swapped out the CRT for a much larger LCD screen.
The CRT screen had quite a large PCB to control it and this is just loose now the plastic monitor case is gone. So I made some wooden brackets to securely hold the PCB below the CRT, more or less in the same position as it would have all been inside the plastic case. The monitor had some buttons on the front of its plastic case that control the settings. I just added some small discretely placed buttons on the cabinet and then wired them to the PCB.
Luckily all of the PC and CRT screen installation worked first time when I powered it up.
Stereo sound
An old arcade machine would just have mono sound, but I wanted mine to be stereo as it will support later games that used this. I had some old PC speakers which are mains powered and have a built in amplifier. They are only cheap speakers and probably around 10w in power. I stripped them apart and mounted the speakers in the panel above the screen and added some speaker grilles from Maplin Electronics. This made them really look the part.
I like the speakers being above the screen as they are nearer to your head, so you can easily hear the sound and the stereo effect. The amplifier PCB was just mounted inside the cabinet main area and I discretely fitted my own volume control wired to it. This all works very well, but I may improve it in the future with a better amplifier and speakers.
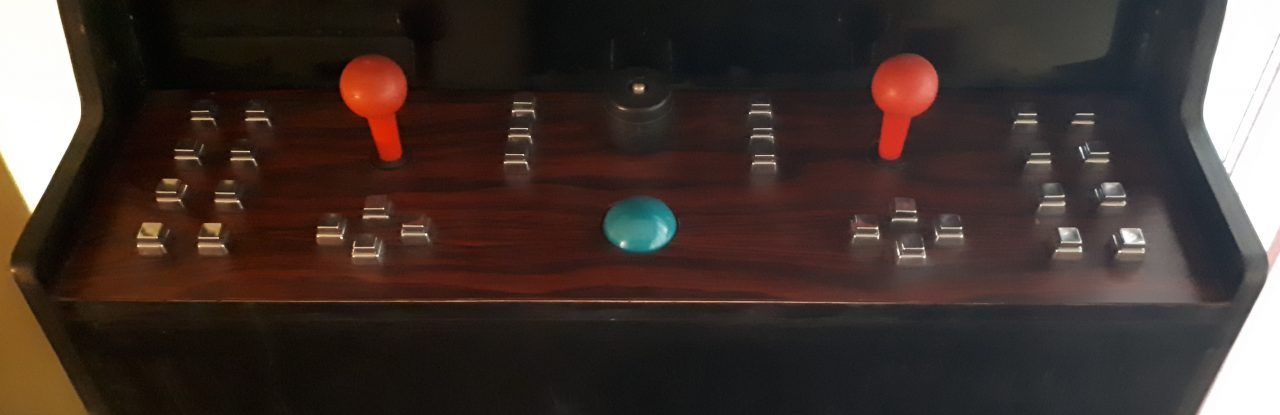
Control panel
The control panel was probably the most time consuming part of this build. I wanted this to look good and be nice to use. I got some fake wood veneer and glued this to the top of the control panel to try and give it a professional look. When I first made this machine, genuine arcade spares were not as readily available like they are now. I had to make do with what I could find.
These were the requirements of my control panel.
- 1 or 2 players.
- 8 way joysticks.
- 8 buttons per joystick.
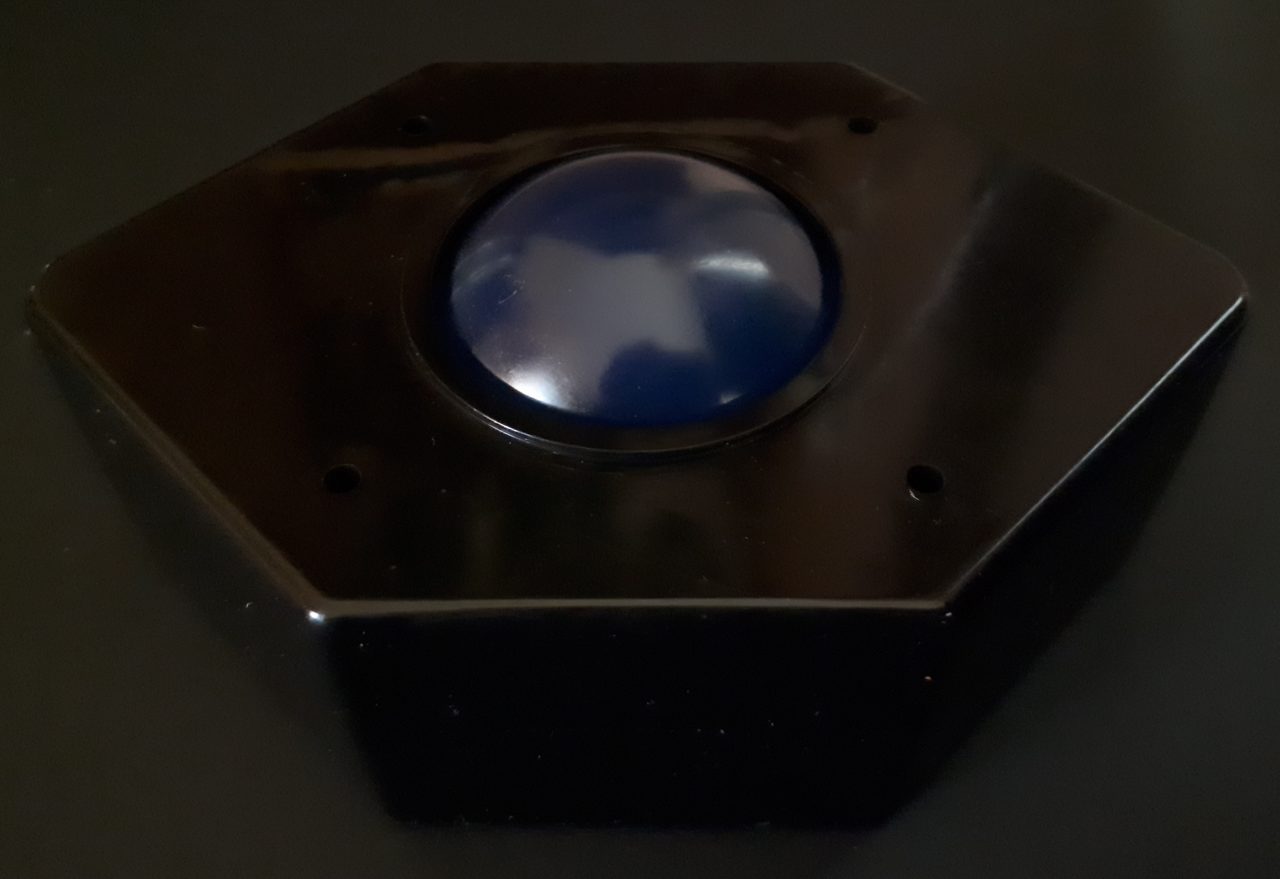
- Trackball.
- Spinner with built in fire button.
- Miscellaneous buttons to insert coins, etc.
Something else to bear in mind, is the way I interfaced this all. I used what was available at the time and there are much better ways to do this now.
The first problem was the joysticks. I could not get proper arcade quality ones. So the next best thing was to buy the best quality joysticks for retro gaming. I found a pair for use with an Amiga ( or any other computer using the Atari 9 pin D connector ) and these were really nice quality and used micro switches. These work only as an 8 way joystick, but I do not have a problem using them with games that only need a 4 way joystick. The micro switches give a really positive feel with a nice click. I had to cut away most of the plastic housing and then bolt them to the MDF control panel.
The buttons were the next big problem I had. I could not get hold of decent big buttons that were suitable for game playing. I had to make do with buttons sold by Maplin Electronics. These were far from ideal, but were okay to start with, and then I could improve them later on. Even though they are not ideal, they have a nice feel to them and actually work quite well. They are just a little small to use.
The trackball is just a USB PC trackball that I removed from its plastic case and bolted to the control panel. This is also not ideal. It is far too small and does not have a nice feel when using it, but it was okay for now.
The spinner was a completely custom built unit. I was unable to find anything suitable to use. What I did was to use the guts of an old USB mouse. I found the X axis of the mouse was correct for the spinner in MAME games that used it. I got a small metal box and mounted a shaft through it running in ball races. The shaft went through the slotted disc from the mouse and then I mounted the opto unit to read this. This is all mounted in the metal case along with the mouse PCB. I made a plastic spinner knob to go on the top of the shaft.
I wanted a button in the middle of the spinner. This is not normal and was purely to play one game that I could think of. Tron required a joystick and spinner, but the joystick has a trigger fire button on it. My joysticks do not have this, so I opted for the fire button on the spinner. I had to be a bit clever here as the spinner can continuously spin around and the button needs to be wired in. So I went for two contacts on the shaft and then two brushes that rubbed against them. This worked out to be okay and makes Tron more enjoyable to play.
The trackball and spinner just use USB connectors to the PC, but the buttons needed a bit of thought. MAME maps all the controls to the PC keyboard keys. So I gutted an old PS2 keyboard I had and mounted the PCB inside the cabinet. I then had to work out the PCB connections for all the keys and then wire them to the buttons and joysticks. This solution works fine, but it is not ideal. The problem is that when you press more than one button at the same time, the keyboard PCB cannot really handle this. There are better solutions now since I made this.
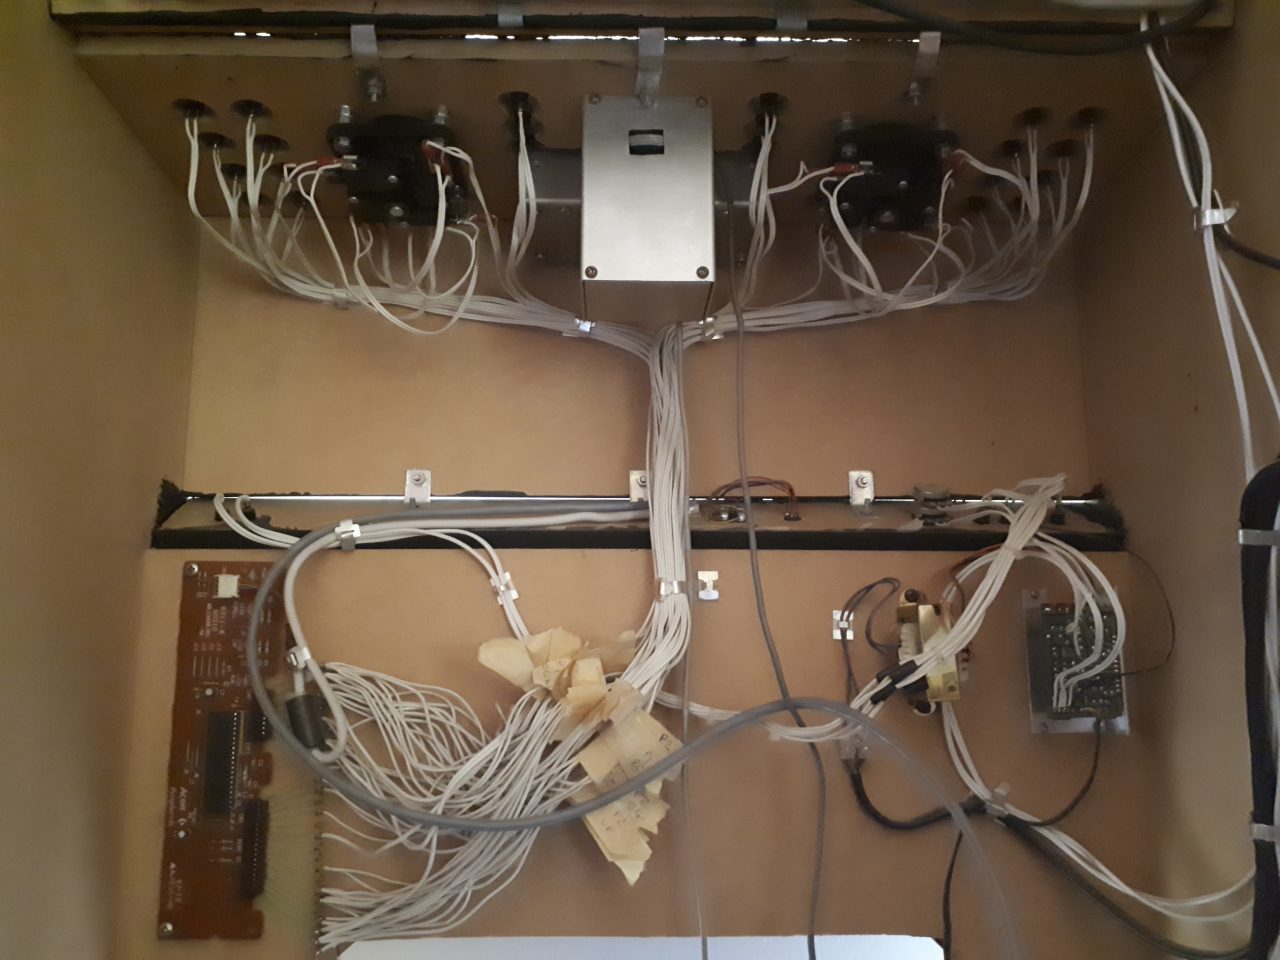
Miscellaneous wiring
With most of the work inside now done, there was just a few things to finish it off. I needed a mains supply to power the different things in the cabinet, so I opted for a mini multi way mains outlet that was popular on Hi-Fi systems in the past. The mains connectors are special ones, but they are nice and small and it makes the whole thing compact. This was just mounted inside the cabinet and the mains wires run to each device.
The marquee is a glass panel at the top and will eventually have a printed image behind it. This will light up when the machine is on and a fluorescent tube is mounted behind the glass to do this.
Selecting the games
I have a long programming background, so I decided to write my own menu system to select the games. Being a huge Linux fan, this was my operating system of choice. I wrote a basic text menu system and you could scroll though the games one at a time or page at a time using the joystick and the fire button to select the game. It all looked pretty basic, but it worked and was simple to use. There are loads of MAME front ends now and using very fancy graphics, but this was not around when I did it. One of the miscellaneous buttons worked the escape key and this quits the game and returns you back to the menu.
Finally I could play it
After all this work, I was able to finally play it and see if all my effort was worth it. And yes it was. It was so much more fun playing the games on this, than on my PC using a normal keyboard. It was almost as good as the real thing and I was really happy as I had made it all myself. To play driving games, you have to steer with either the joystick or the spinner. Neither of these methods is ideal and took a while to get the hang of.
Once I had ironed out some of the bugs, it was time for the big reveal to my friends. As I had recently purchased my house, I decided to have a party, and this would be a good talking point. Everyone loved it and I had to practically drag people off it to let others have a go. The only complaint I got from some people was the control panel was a bit too small as they had bigger hands than me. And some people wanted the buttons on the other side of the joystick as they were left handed and found it awkward to play. But on the whole it went down very well.
Stage 1 and 2 of the build
Everything mentioned so far is what I am now calling stage 1 of the build. This is my initial work and things have moved on since then. It now seems everybody is building their own arcade machine and there are lots of great ideas to learn from. Also lots of companies and sellers are popping up and getting genuine arcade machine quality parts is now easy.
So I have decided to do a stage 2 of the build, which will take my machine to the next level. Some of this work is already done and the rest is outstanding.
I have now fitted a 22″ 4:3 aspect ratio LCD monitor, replacing my old 17″ CRT monitor. This was a tough decision as I really liked the CRT monitor. The LCD screen is a lot bigger and also a lot lighter. It was really hard to find an LCD monitor bigger than 20″ in the 4:3 aspect ratio. But I eventually got one online second hand. It cost me £50 and would have cost a lot of money when it was new. MAME for some time now has some really good CRT effects you can run and it looks really authentic.
I have also sourced a better motherboard with RAM and a more capable CPU. It also came with a fairly decent nVidia graphics card. This will all help to play the games better, as some of the newer games need more performance. The nVidia graphics card will help with the CRT effects, which are quite demanding.
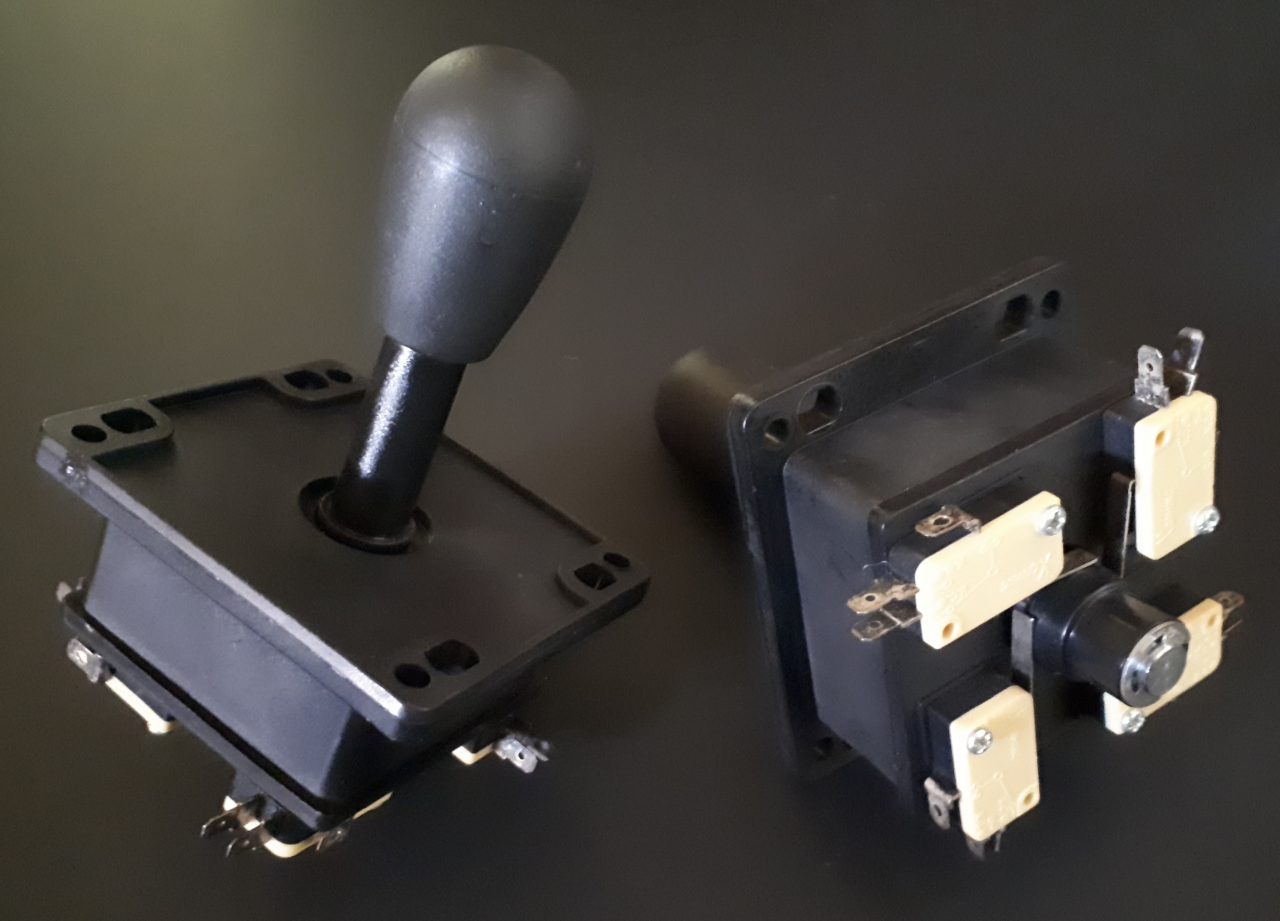
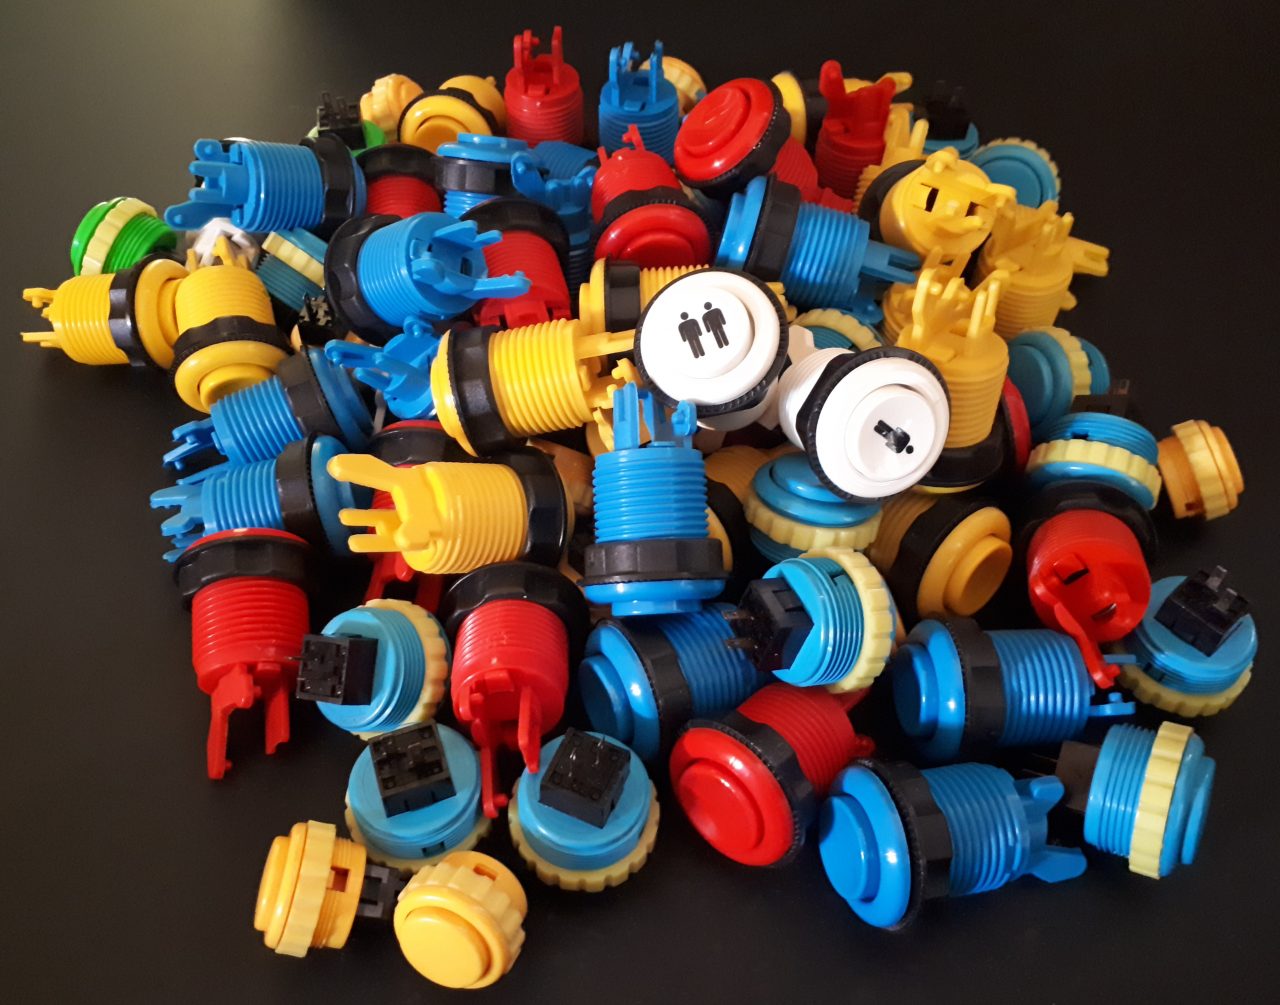
I have finally got some genuine arcade joysticks and buttons. These are the real deal and look really good. The joysticks have micro switchesand are 8 way and they will take a lot of abuse. The buttons are nice and large and also use micro switches. I have yet to fit these. I also have a much larger and better quality trackball. This is miles better than the one I have at the moment and it has momentum when you move it.
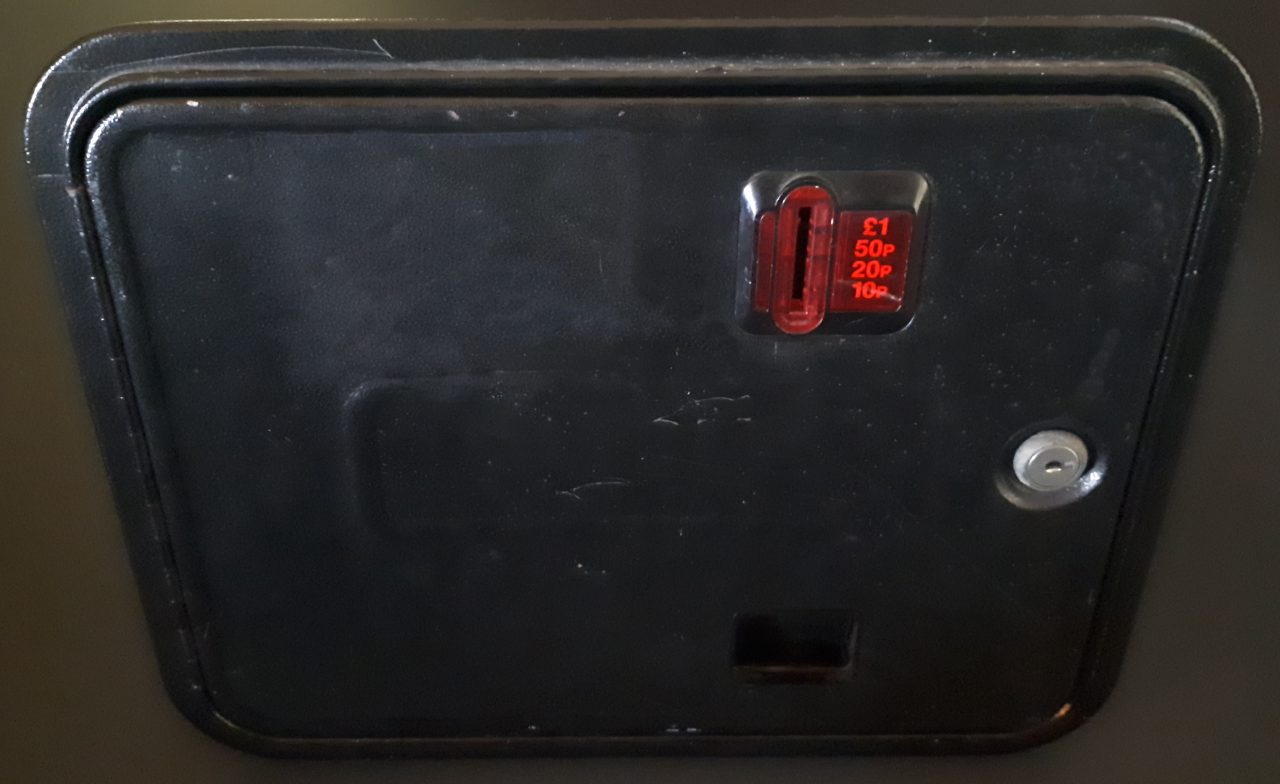
I wanted a lower front access door, but did not just want an MDF door on hinges. The solution was a used large coin slot door which has its own frame. The coin slot will just be for show, but it gives a nice big door to be able to get access inside from the front. It also looks really cool and makes the front of the machine complete.
These are the jobs I still want to do.
- Improve the control panel. This is going to be completely redone, and it will be bigger to allow for better controls and have more room for people playing the games. I will probably use a different finish and not the fake wood veneer I have at the moment.
- Better controls. I want to fit the real arcade joysticks, buttons and trackball and also source a proper spinner or make a better one myself.
- Better speakers and amplifier. The speakers and amplifier I have at the moment are not very powerful and I want to fit bigger speakers and a more powerful amplifier.
- Marquee image. Design and print a MAME marquee.
- Make the rear panel a door. The rear panel is a pain to remove. I want to change this to make it into a hinged door to allow quicker access.
- Cabinet side decals. At the moment the cabinet is satin black and looks a bit plain. I fancy having some side decals to liven it up a bit.
- Cabinet t-molding. The edges of the MDF are just raw and I want to fit some t-molding to it to make it look more authentic.
- Control panel interface. There have been available now for some time, some really neat USB interfaces for using lots of buttons, joysticks, trackballs and spinners. This is the way to go and the interface can handle multiple button presses at the same time.
What would I do different now
If I was to start again or I was building it for the first time now, I think the main thing I might do different would be to use a real arcade cabinet. They are fairly common now and you can buy gutted ones for a £100 or so. It would have to be a machine I really like the look of, so maybe my homemade one is best as I made it just how I wanted it.